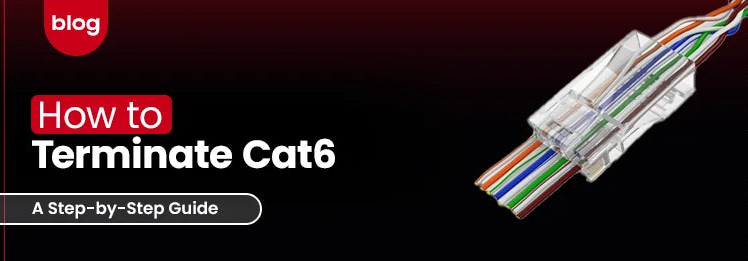
DIY Guide: How to Make and Terminate an Ethernet Cable
Creating your own Ethernet cables can save money, allow custom cable lengths, and ensure your home or office network fits your needs perfectly. This step-by-step DIY guide walks you through how to crimp Ethernet cables, including the tools needed, wiring standards, and tips to avoid common mistakes.
Tools You’ll Need
To crimp your own Ethernet cables, gather these essential tools and accessories:
- Crimping Tool: A specialized tool designed to attach RJ45 connectors accurately and securely.
- Cable Stripper or Cutter: Used to strip the outer jacket of the cable cleanly without damaging the inner wires.
- RJ45 Connectors: Standard 8P8C modular plug connectors compatible with your cable category (e.g., Cat5e, Cat6).
- Cable Tester: Device to verify wire continuity, correct pairing, and absence of faults after crimping.
(See our [Tools & Accessories product page] for quality crimpers, connectors, and testers.)
Understanding the Wiring Standards (T568A vs T568B)
Ethernet cables follow one of two wiring standards for the order of the eight internal wires:
- T568A: Common in residential installations, with green and orange pairs in specific positions.
- T568B: More widely used in business environments, with the orange and green pairs swapped.
Both standards function identically for typical Ethernet usage. The critical point is to use the same wiring scheme consistently on both cable ends for a “straight-through” cable, typical for most devices. A different standard on each end creates a “crossover” cable, sometimes useful for direct device-to-device connections.
Step-by-Step: Crimping Your Cable
- Strip the cable: Use the cable stripper to remove about 1 inch (2.5 cm) of the outer jacket, exposing the eight twisted wires.
- Untwist and align wires: Untwist the pairs and straighten them out, then arrange the wires in the correct order according to the chosen standard (T568A or T568B).
- Cut to length: Trim the wires evenly, about half an inch (1.3 cm) from the jacket end, ensuring neat wire ends.
- Insert wires into connector: Holding the connector clip down, carefully push the wires into the RJ45 plug, making sure each wire reaches the front and the jacket fits securely inside.
- Crimp the cable: Place the connector into the crimping tool and firmly squeeze the handles. The tool presses metal pins into each wire and locks the connector onto the cable.
- Repeat on the other end: Prepare the second cable end the same way for consistent wiring.
Common Mistakes & How to Avoid Them
- Incorrect wire order: Double-check the wiring sequence before crimping.
- Wires not fully seated: Ensure wires extend fully to the connector’s front for reliable contact.
- Not trimming wires evenly: Uneven wires may cause shorts or improper pin contact.
- Damaging cables while stripping: Use appropriate tools and be gentle to avoid damaging the conductors.
- Skipping cable testing: Always test after crimping to catch faults early.
Testing Your Cable
After crimping both ends, use a cable tester to:
- Verify all wires are connected in the correct order.
- Detect any broken pairs, shorts, or crossed wires.
- Ensure signal continuity for reliable network operation.
Testing before installation saves troubleshooting time and ensures optimal cable performance.
In conclusion, crimping your own Ethernet cables is straightforward with the right tools and attention. Following wiring standards and testing diligently guarantees high-quality custom cables for your network.
For reliable crimpers, connectors, and testers, visit our [Ethernet Cable Tools Product Page].


